Motorman’s Mean Streets – Are You Really Proficient on Your Motorcycle?
Are You Really Proficient on Your Motorcycle?
Last week at my Ride Like a Pro class a student asked how long I’d been teaching the Motor Officer techniques. I replied, about 16 years. The student stated, “Wow, I bet you’ve seen it all.” I thought about that for a moment and decided he was right. I have seen it all when it comes to the crazy weird and just plain dumb things people do when trying to learn to ride a motorcycle with skill and confidence.
Keep in mind, the course I offer is an advanced skills course and I advertise it as such. To take advantage of the techniques demonstrated in my course, one must have a good handle on the basic skills. In my opinion, that means you know how to start off on a hill without stalling or rolling backward, you have a fairly good understanding of counter steering and you can make a U-turn in 40 feet or less. In addition, you can stop quickly from 20 mph in a straight line. I think you’d agree that those are pretty basic skills.
When someone comes to me with these basic skills, they leave the class three to four times a better rider than when they started. The worst of the riders will be twice as good as when they started the class. And all the students will know how to use the techniques to their fullest extent and have the ability to continue to improve their skills.
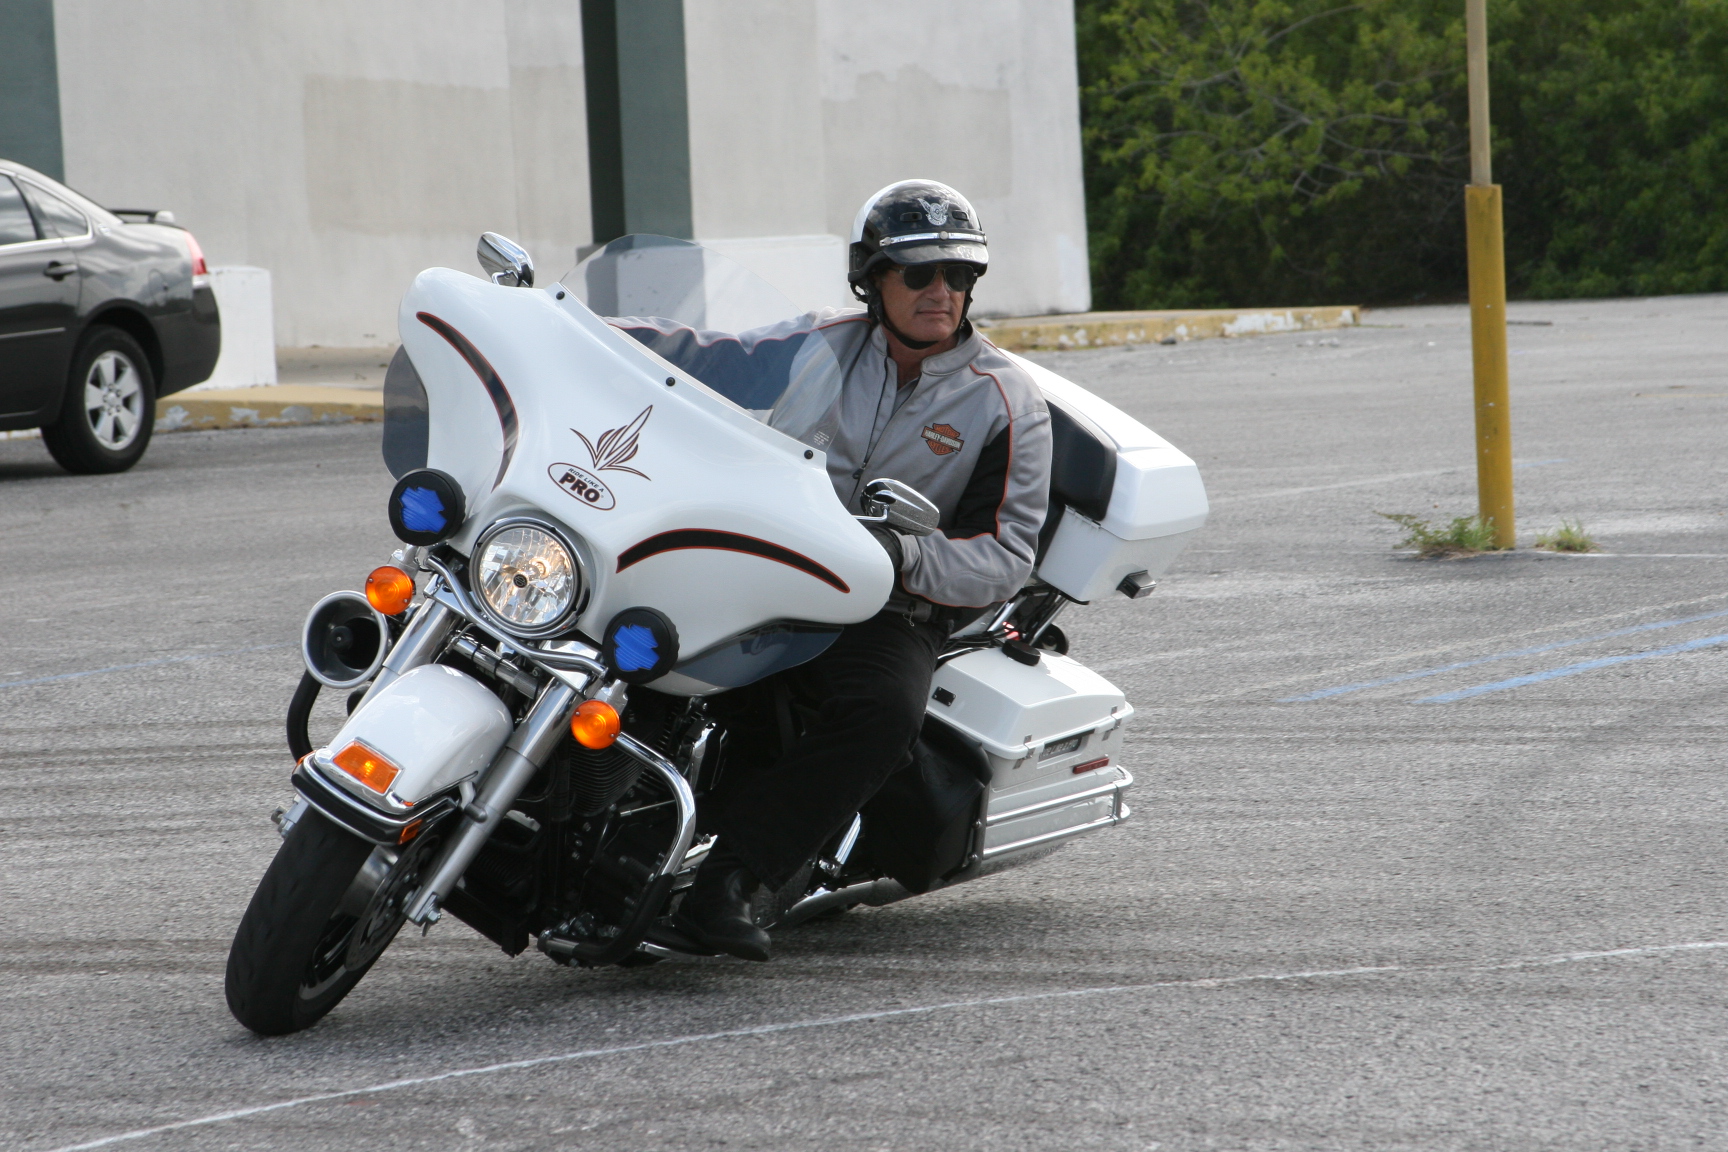
Are there people who I can’t help? Yes. The quitters and the dangerous. As an example, a year or so ago, I had a couple who flew in from another state and rented two of my bikes for the class. Both the man and the woman claimed to own Road Kings and both stated they had been riding for years. I put the male rider on a Sportster Low and told him to cruise around the parking lot, make a few stops and starts, and ride around the service road that goes around the parking lot. This gives the rider a chance to get familiar with the bike and allows me to evaluate their skill level.
-

- Motormans’s Mean Streets
-

- Motormans’s Mean Streets
-

- Motormans’s Mean Streets
-
- Motormans’s Mean Streets
It took this guy 12 tries to take off from a stop without stalling. This of course is not a good sign. Once he got going at about 10 mph, he rode across the parking lot and attempted to turn onto the service road. This turn can be done easily at 35 mph but this rider felt that 10 mph was too fast, so he let off the throttle then tried to come to a stop by using both feet instead of the brakes. He then stalled the bike because he didn’t pull the clutch, got it started, then ducked walked it into the left turn. That was enough for me. There was no way this guy could ride in a class with eight others as he would endanger himself and anyone within 200 feet of him. I had to refund his money and advised him to go back to an MSF Beginner class to gain basic skills. Thankfully he took my advice well and agreed with me.
It was now his wife’s turn. While she was able to take off from a stop without stalling and she could use the brakes to stop, she absolutely could not turn the motorcycle. I asked her to try to make the tightest circle she felt comfortable with. That turned out to be somewhere over 400 feet! How much over 400 feet? I can’t tell you because the parking lot is only 400 feet wide and that wasn’t wide enough for her, as she had to stop once she got to the edge of the lot at the fence line. She then backed up, got the bike pointed straight ahead and road all the way across to the other side of the lot until she again ran out of room. I decided to allow one of my instructors to try to work with her privately and far away from the other students. After an hour of one on one instruction she had some idea of how to use the clutch and throttle and was able to weave through a few cones set at a huge 15 feet apart. She then decided she had learned enough and promptly quit. No amount of coaxing from me would change her mind. I advised her also to retake the beginner course once she returned home. She stated she’d been riding for years and didn’t need a beginner course. Well, you know the old saying, you can lead them to water, etc. …
Had this woman continued the class, I’m sure she would have left with a good understanding of basic motorcycle rider skills and she would at the very least know what advanced riding techniques were and how to use those techniques with some practice. But the fact that she quit after just an hour tells me she’s not the kind of person who really wants to be a skillful rider or at least, she’s certainly not willing to put in the time it would take to get better.
I also offered both her and her husband to walk with me and watch and listen to the coaching tips I give the other riders as they progressed through the course. Unfortunately they declined, got in their car and drove away. On the way out of the parking lot she drove over the curb.
Copyright 2014 Jerry “Motorman” Palladino
www.ridelikeapro.com
**Please acknowledge receipt of this email so we know you received it**
Ride Safe,
The Ride Like a Pro Team
www.ridelikeapro.com
866-868-7433